Google Photos
automatically categorises your documents into specific albums like Receipts, IDs, and more. However, you can also create custom albums for better organisation. Hereâs how to do it
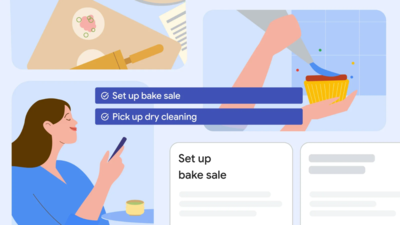
Creating custom document albums
Organising documents within albums
Utilising Google's document categories
Google Photos automatically sorts documents into categories like Receipts, IDs, and more.
Tips for effective organisation
Creating custom document albums
-
Open Google Photos: Launch the Google Photos app on your device.
-
Tap Library: This is usually at the bottom of the screen.
-
Tap Create album: This option will allow you to create a new album.
-
Name your album: Give your album a descriptive name like "Home Improvement Receipts," "Pet Records," or "Car Documents."
-
Add photos: Select the documents you want to include in the album.
-
Open the album: Tap on the album you want to organize.
-
Tap Edit: This option allows you to make changes to the album.
-
Add descriptions: Adding descriptions to your documents can help you easily find them later.
Google Photos automatically sorts documents into categories like Receipts, IDs, and more.
-
Tap Library: This is usually at the bottom of the screen.
-
Tap Utilities: Here you'll find options like Photos, Videos, and Documents.
-
Tap Documents: This will show you different document categories.
-
Use descriptive names: Clearly label your albums and documents for easy identification.
-
Create sub-albums: For large document collections, create sub-albums for further categorization.
-
Regularly review and update: Periodically check your document albums to ensure they are organized efficiently.
- Utilise search: Google Photos has a powerful search function. You can search by keywords, dates, and even text within images.